Hey Everyone, Assalam u Alikum,
This is Aniqa Mashkoor, I hope you people will be in the best of your health. Feeling Chocolaty? 🍫
Chocolate is everywhere. So here we are at the start of week two, and things are already getting delicious! I couldn’t take part in the butter cake challenge last week due to a few reasons, but I had so much fun scrolling through everyone’s entries. They were honestly mouthwatering! I even checked out the original recipe from the post of our beloved instructor @m-fdo, and it looked super simple and beginner-friendly. If I ever get a chance to try it myself, I’ll be sure to share my results.
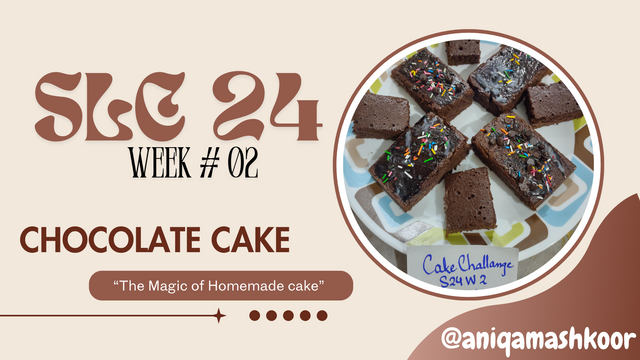
I’ve made chocolate cakes and brownies quite a few times before, and every time, I love trying out a different recipe. It’s like a little baking experiment, and I always mark the best one to come back to later. Honestly, baking cakes is something I truly enjoy, and let’s be real, who doesn’t love a slice of rich chocolate cake or a fudgy brownie? To make my cakes extra flavorful, I often mix in different chocolaty ingredients like cooking chocolate, milk chocolate, Nutella, choco chips, or even big chunks of chocolate. It always turned out yummy, and a cake with a blast of chocolaty goodness in every bite!
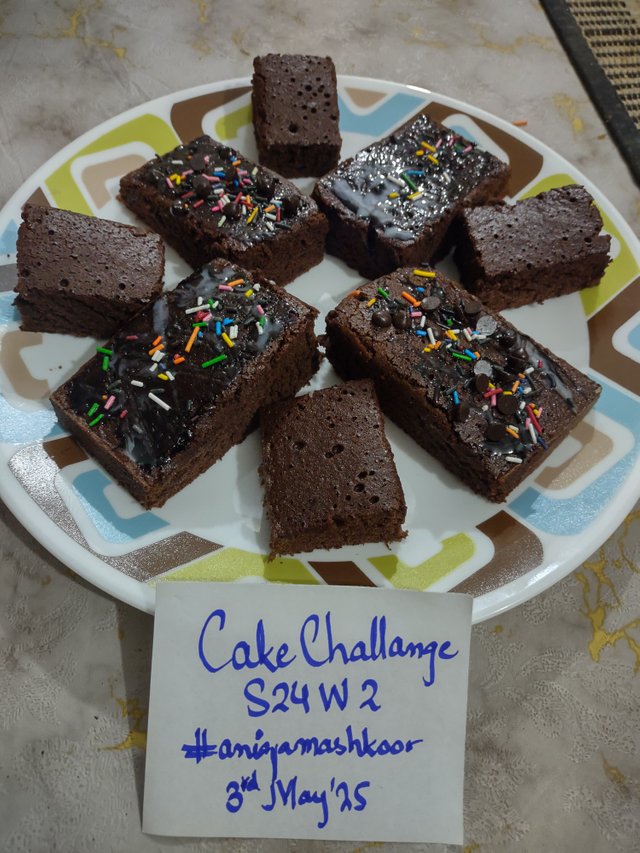
But for now, I’m diving right into the chocolate cake challenge! I just baked mine, I made a few small tweaks to the recipe, and it came out moist, rich, and extra chocolatey. Can’t wait to share the full recipe with you!
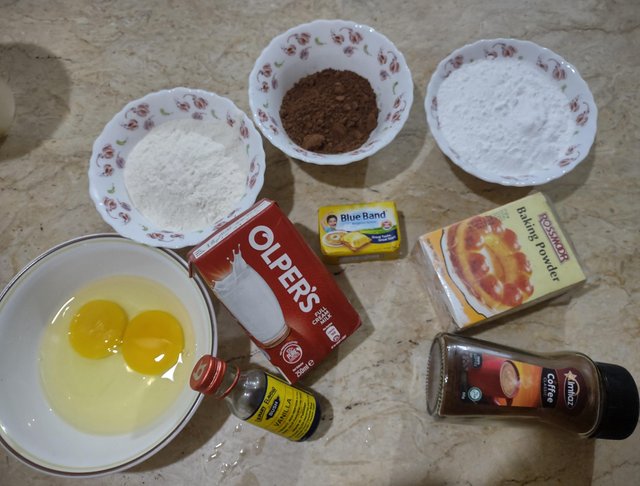
Let's check out the ingredients first,
INGREDIENTS:
| Serial Number | Ingredient | Qty. | Price in steem |
|---|---|---|---|
| 1 | Eggs | 2 | 1 steem |
| 2 | Butter | 100g | 3 steem |
| 3 | Sugar | 100g | 1 steem |
| 4 | Vanilla Essence | Few Drops | 0.5 steem |
| 5 | Baking Powder | 1/2 tsp | 0.5 steem |
| 6 | All Purpose Flour | 85g | 1.5 steem |
| 7 | Cocoa Powder | 15g | 1 steem |
| 8 | Coffee | 1 Tbsp | 1.5 steem |
| 9 | Olpers Liquid Milk | 3 Tbsp | 1.5 steem |
RECIPE:
Step 01:
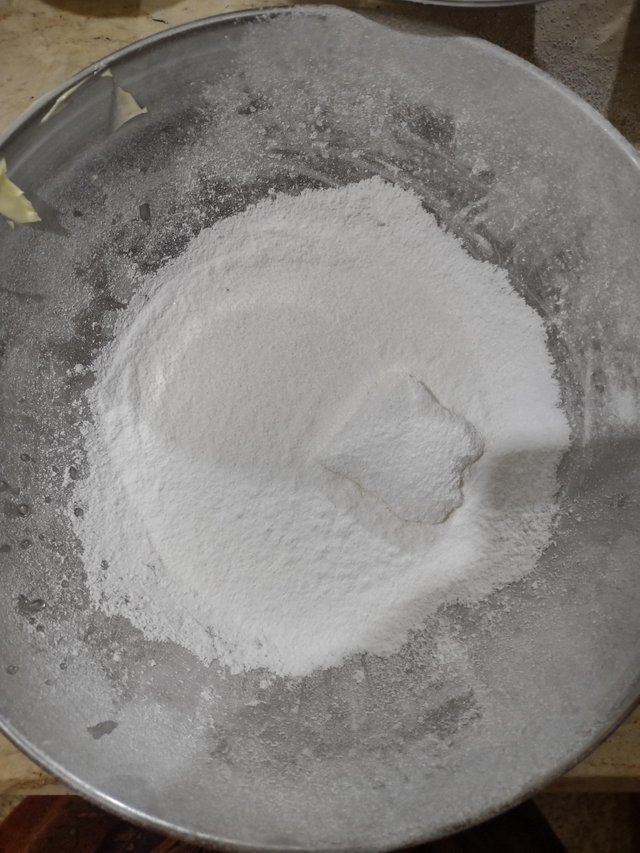
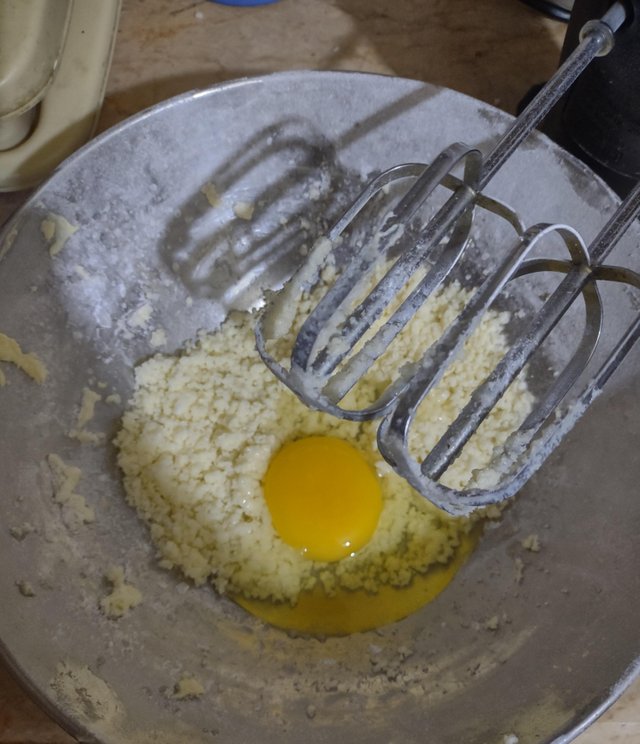
First, I took 100 grams of butter in a bowl and added 100 grams of ground sugar to it. I then beat them with the help of a beater really well until the texture was nice and creamy. After that, I added eggs one by one to the mixture. Once the eggs were in, I gave everything a good mix with the beater to make sure all the ingredients were well combined.
 |  |
|---|
Step 02:
Then, when the three ingredients are mixed well, I dissolved coffee into water and added it to the mixture along with vanilla essence. My family loves the aroma and taste of coffee, so I add this to my cakes. This is completely optional. It totally depends on your taste buds. But on my recommendation, do give it a try, it enhances the flavor and makes it rich.
.jpeg) | 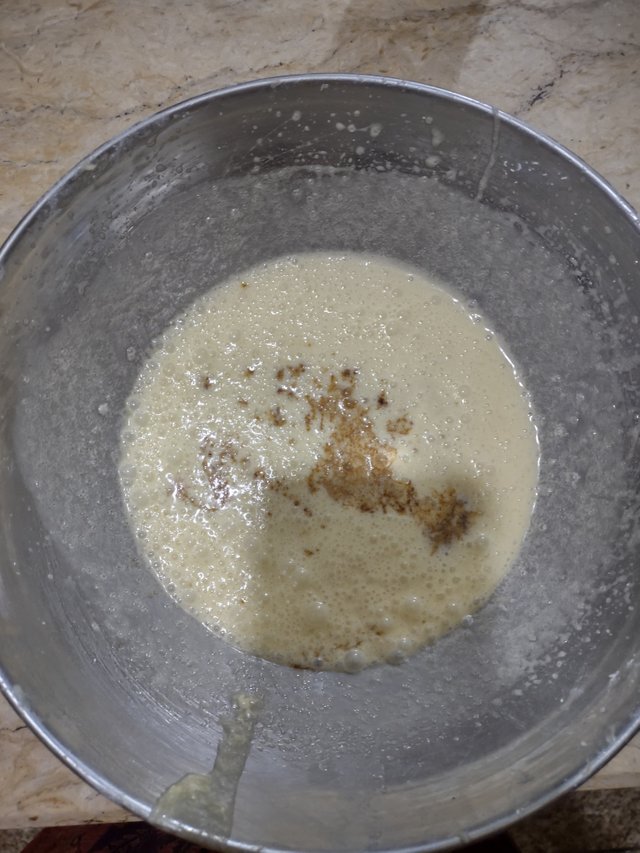 | .jpeg) |
|---|
Step 03:
Now, I sift all my dry ingredients. That includes all-purpose flour, cocoa powder, and baking powder. Sifting is very important. Cocoa powder is the most dangerous ingredient for your cake. If it is not sifted thoroughly, it creates lumps in your mixture and does not make it smooth.
.jpeg) | .jpeg) |
|---|
Step 04:
Now add the dry mixtures to your batter in chunks and fold them with the help of a spoon. I had my spatula, so I used it for folding. I personally love silicon spatula because it never keeps anything on it. Now when everything is mix well add the required amount of milk and fold it again.
.jpeg) | 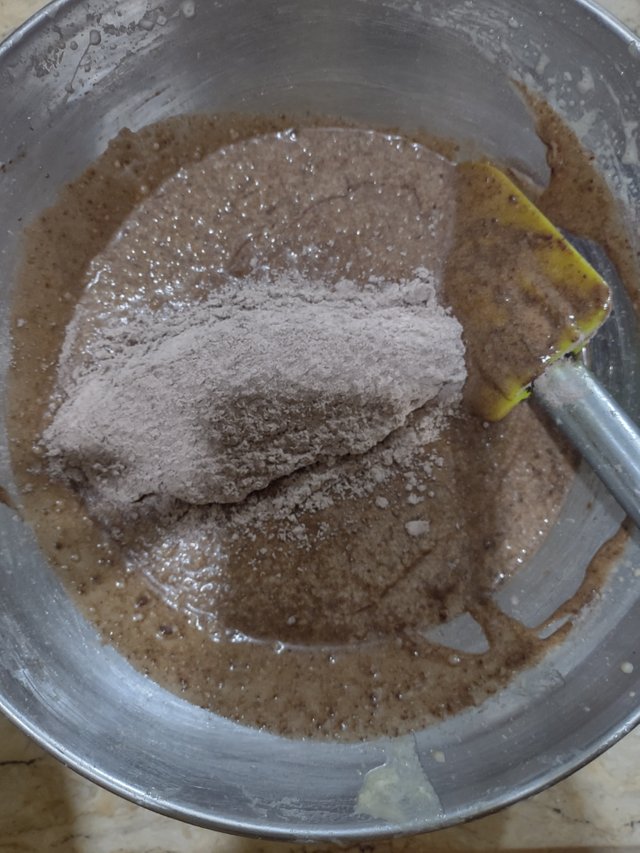 | 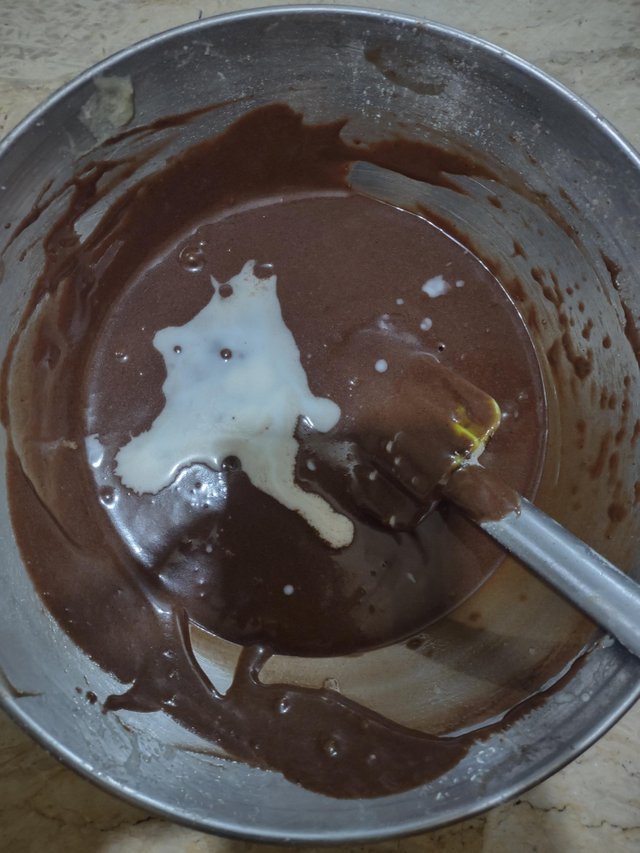 |
|---|
TIME FOR PREARING THE MOLD
I did not have butter paper, so I just oiled my mould and spread some flour over it. This is my trick, and I use it every time, and luckily, my cake never gets stuck at the bottom of the mold. After preparing the mold, I transferred my cake mixture into it.
.jpeg) | 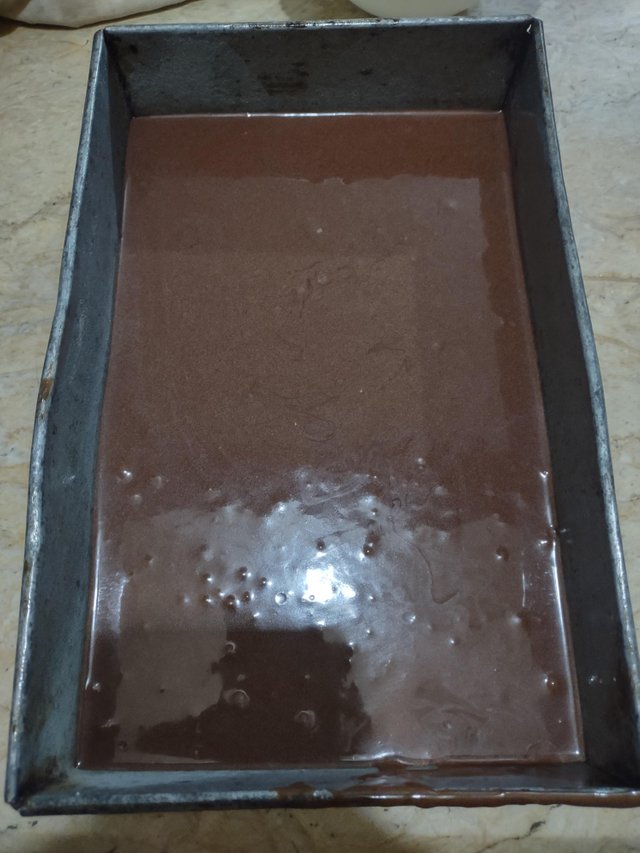 |
|---|
POT PREPARATION & BAKING
I do not have an oven, so I always bake on the stove. The tactic is very easy peasy. Just put a big pot over the stove. Place some kind of highted thing in your pot, I use a steamer for making it rise from the bottom. You just have to make sure that your cake mold does not directly contact the pot.
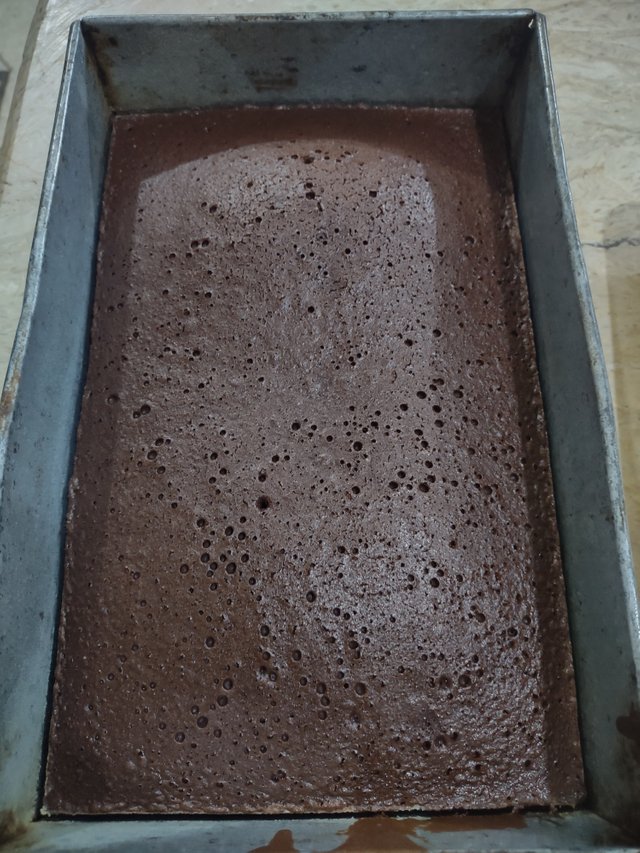
Preheat your pot for 20 minutes on maximum flame before placing your cake batter into it. Then, after placing your cake mold, minimize the flame to low. Let it bake for 30 minutes. After that, check your cake with the help of a needle. If it is clean, that means your cake is done. If it comes out with a cake mixture, that means it's slightly raw from inside and needs more time.
.jpeg) | 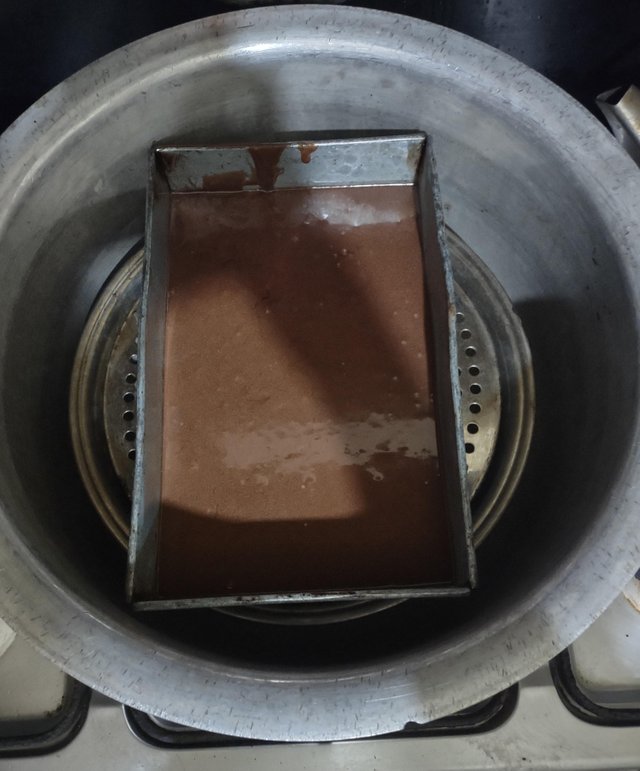 | .jpeg) |
|---|
FINALE
First Phase
 |  |
|---|
Final Phase
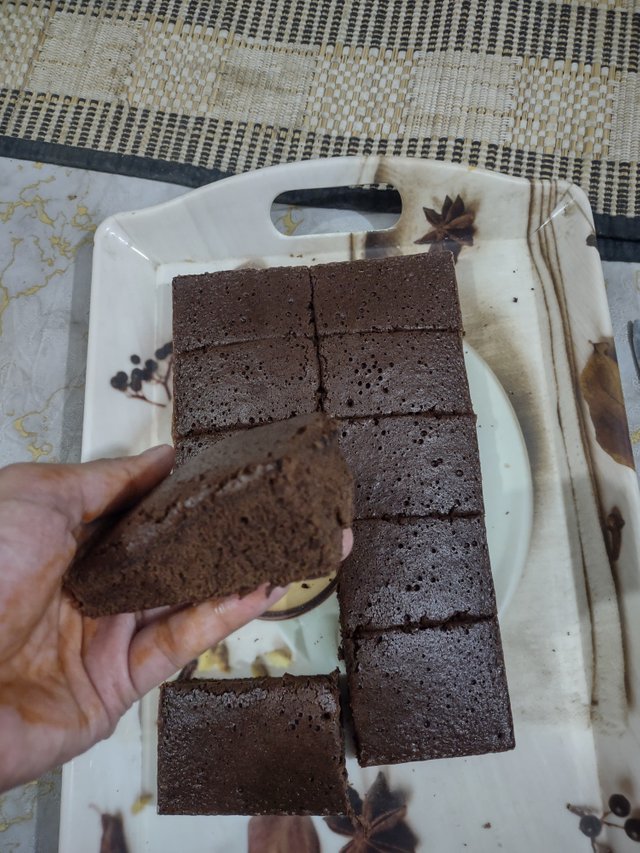
I used the following ingredients to decorate my cake. I cut it into the shape of brownies and decorate it with the available material.
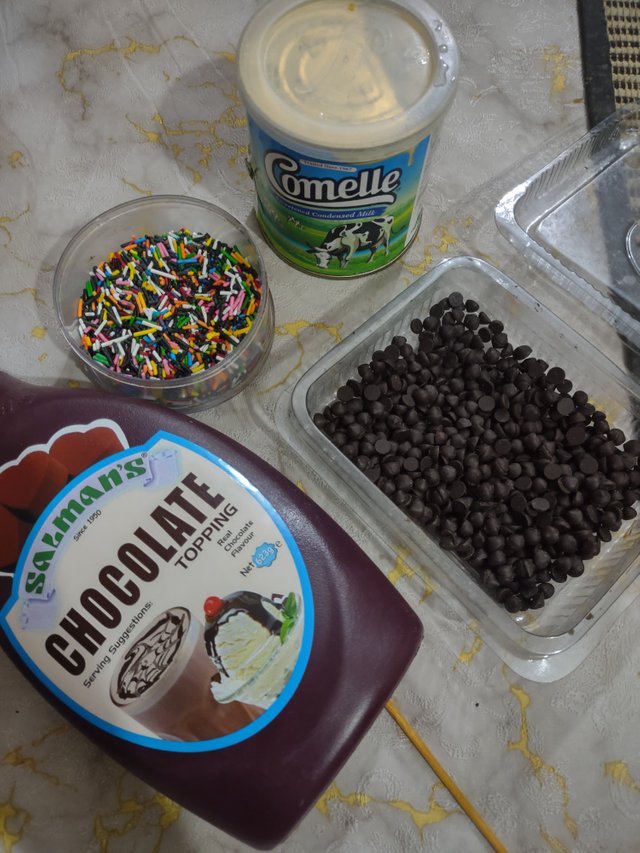 | 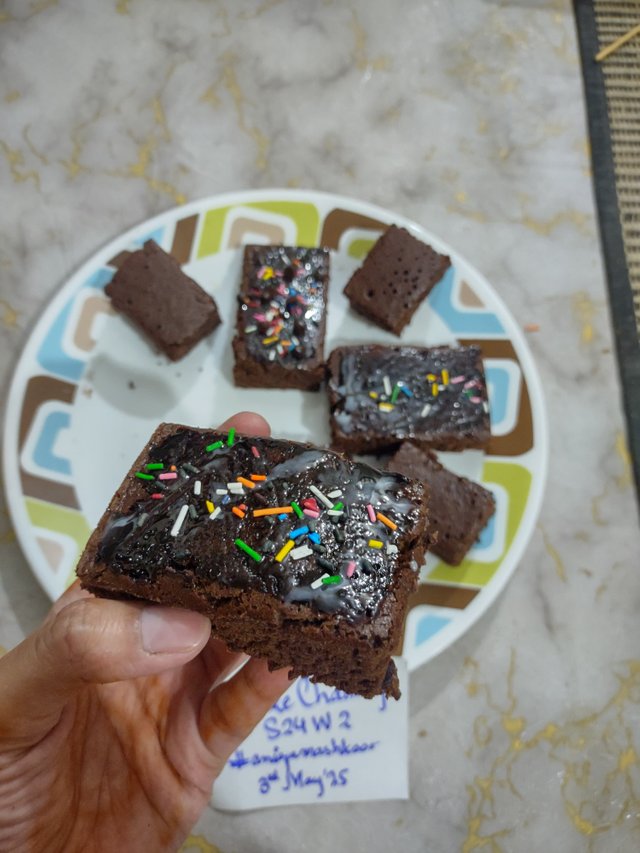 |
|---|
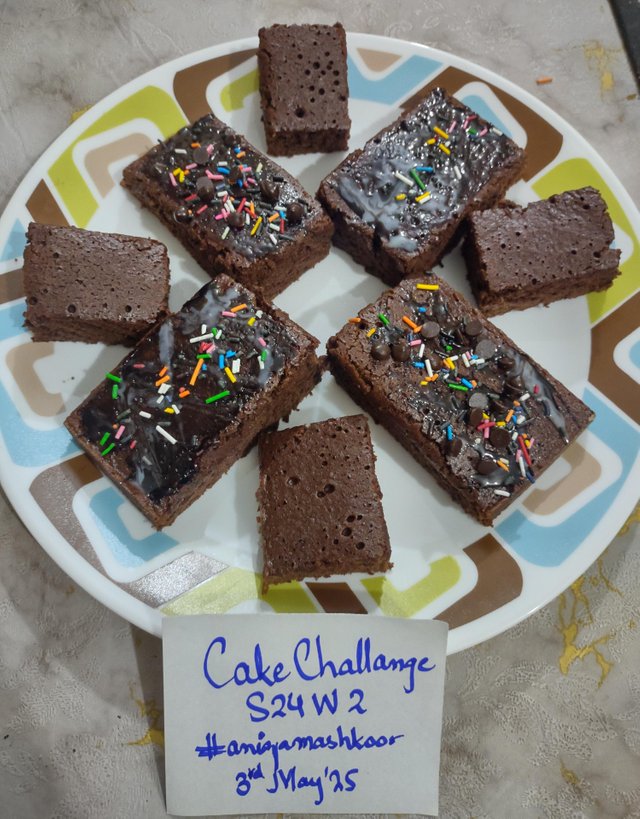
Now, time to figure out the last query. Why do we use cocoa powder and Aso, and why in a smaller quantity than flour?
To be very honest, I have been baking cake for quite a long time now, but I never thought about this. The first thing is quite simple. As we are baking a chocolate cake so cocoa powder is the main ingredient to add flavor and aroma of chocolate to our cake. It gives a perfect chocolaty brownish color to our cake.
The amount of cocoa powder is always less than the amount of flour due to its absorbent quality. It sucks up the moisture. If we add more or an equal amount of flour, we'll end up having a very hard, dry sponge. Cocoa powder is a powerful flavoring agent. An excess amount of cocoa powder can result in making the cake too bitter. So to achieve the ideal balance of chocolate flavor, moistness, and texture, we use the cocoa powder in a lesser amount in contrast to flour.
I would like to invite my friends @iffatilyas, @roohiasif99, @jannat12 to participate in the Challenge.
Note: All images in this post were captured by my own Motorola device.

This is all from my side. I have tried to sum up all my tricks and knowledge as well as what I had for baking a cake in the pot. See you all with the next sweet adventure. Do let me know how you found my cake.
Presentation style very unique .it looks very delicious.Seeing this makes me want to eat.zabardast👍👍
Downvoting a post can decrease pending rewards and make it less visible. Common reasons:
Submit
Thank you so much <3
In Shaa Allah zarur if you are from Karachi, I'll send it to you someday.
Downvoting a post can decrease pending rewards and make it less visible. Common reasons:
Submit
@tipu curate
;) Holisss...
--
This is a manual curation from the @tipU Curation Project.
Downvoting a post can decrease pending rewards and make it less visible. Common reasons:
Submit
Upvoted 👌 (Mana: 7/8) Get profit votes with @tipU :)
Downvoting a post can decrease pending rewards and make it less visible. Common reasons:
Submit