Hello Everyone. I am @shiftitamanna
From #Bangladesh
.png)
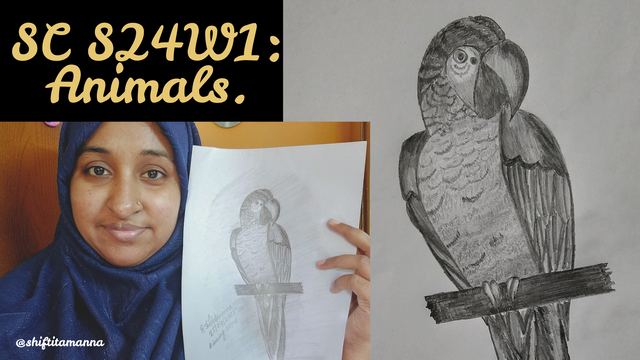
Used as a cover photo
Assalamu Alaikum everyone. Today I'm going to participate in the Steemit Challenge's first week of animal drawing challenges. Where students are given the opportunity to explore their creativity through drawing. I think learning from this challenge will help me take my drawing creativity to the next level.
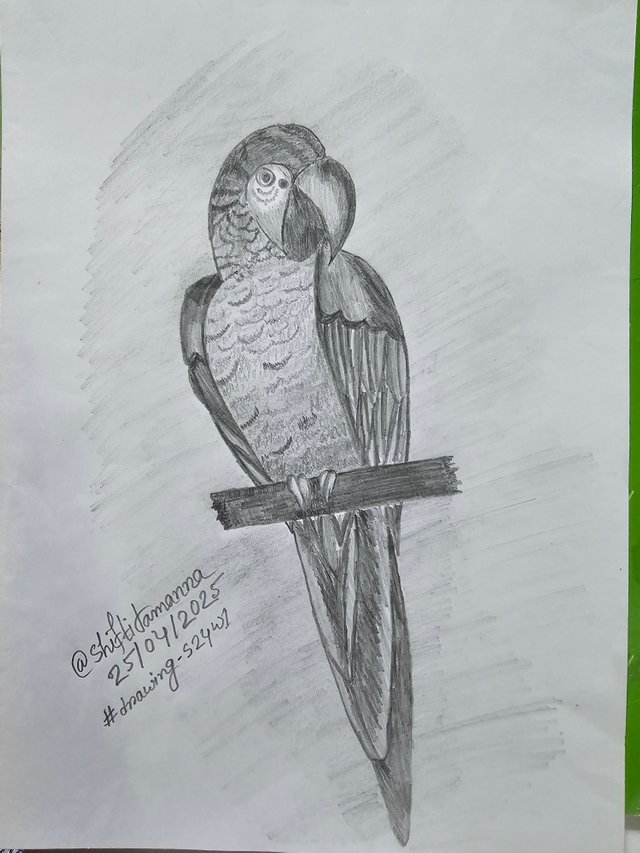
I basically love to sketch a lot. This is what we call a pencil drawing. An artist expresses a basic idea through his work of art. Anyway, let me move on to the main challenge. Where told to sketch an animal picture. Today I will show you a sketch of a parrot, one of the three animals drawn by our teacher @jesusnunez. I tried to do the drawing exactly where he gave the instructions. So I'm starting without delay.

Drawing Materials
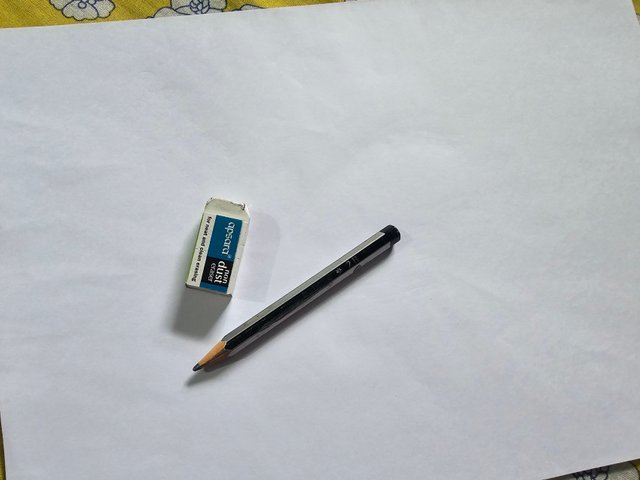
A4 Offset Paper
Eraser
Pencil

The Process of Drawing
I will divide my drawing into two steps according to the task of the challenge. In the first step, I will create a sketch of a parrot among the animals explained in class. Then in the second step I will bring the realism of the drawing by applying general shading to the sketch.
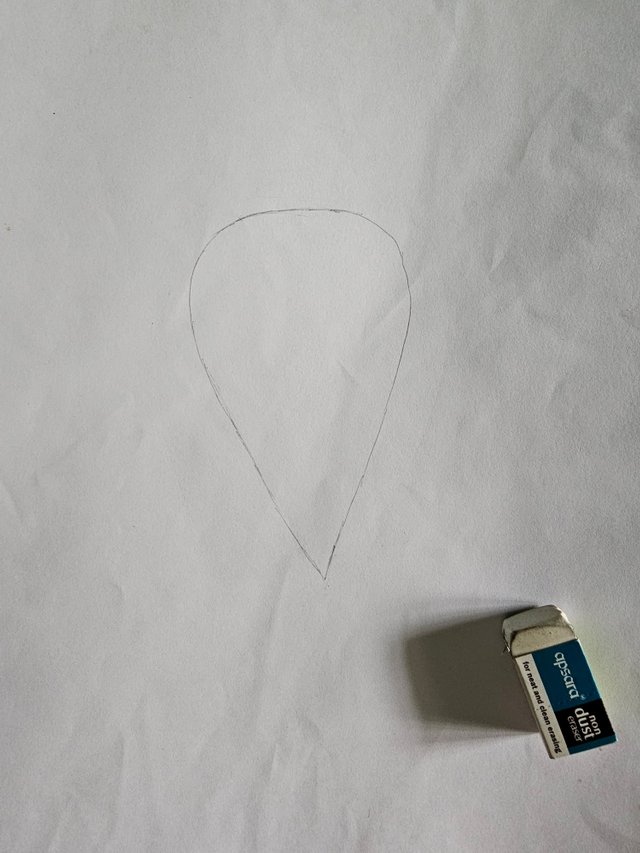
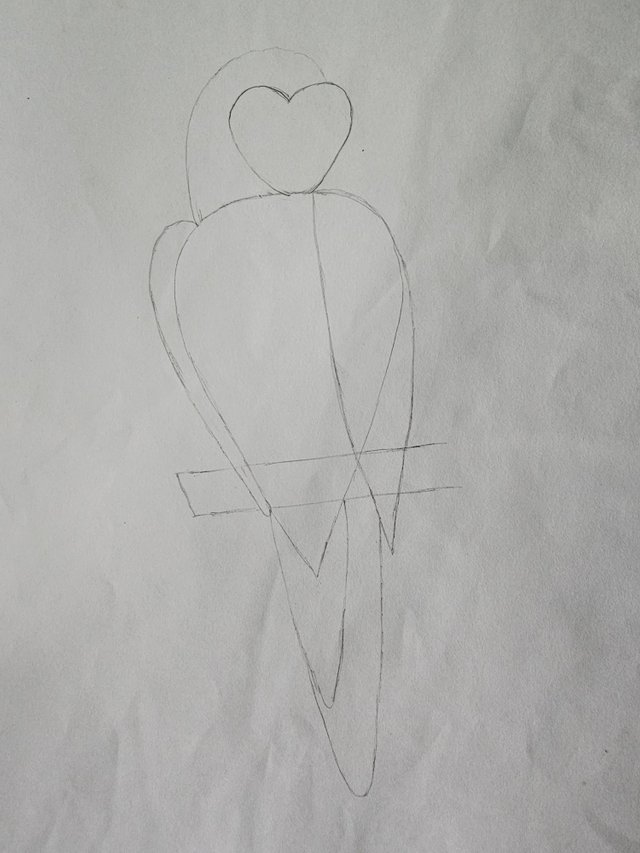
- First I will create an upside down shape like a leaf. which parrot will identify as the body part of the bird.
- Then I'll draw a heart shape on top of the triangle that will indicate the beak part of the parrot. Then I will draw two parallel lines downwards which will indicate the branches of a tree.
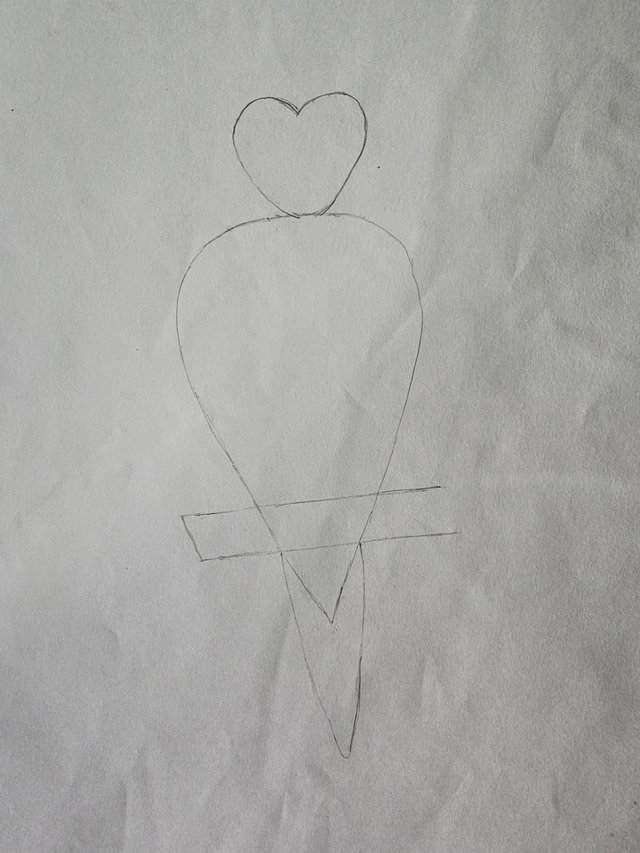
- Then I will draw the wings of the parrot on both sides of its body. And I will also add the macha part. And below I will also draw the part of the parrot's tail.
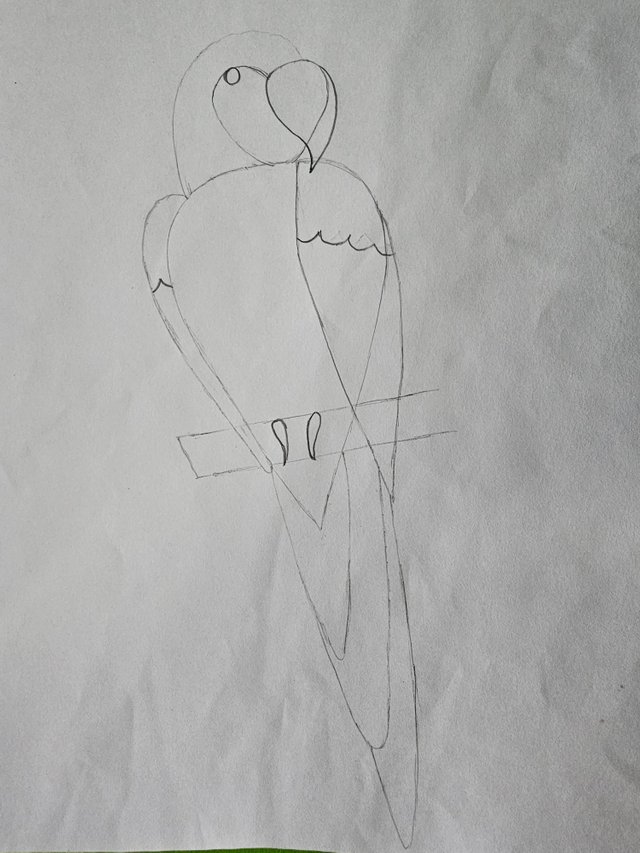
- Then I will draw the eyes of the parrot with the help of a circle. And I will give a shape to make the beak part of the bird more visible. Then I will draw the claws of the parrot.
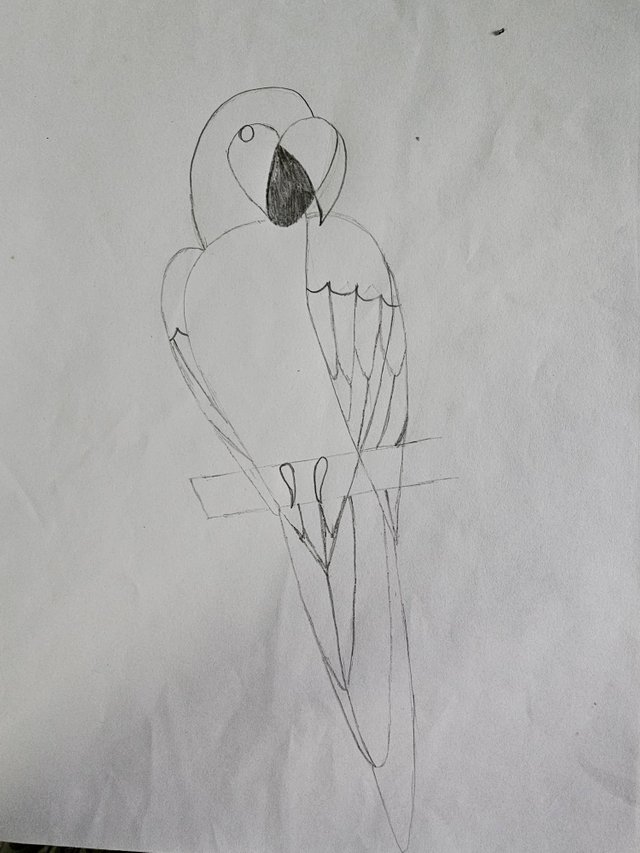
- Next I draw the feathers of the parrot's wings. And the extra lines will be erased.
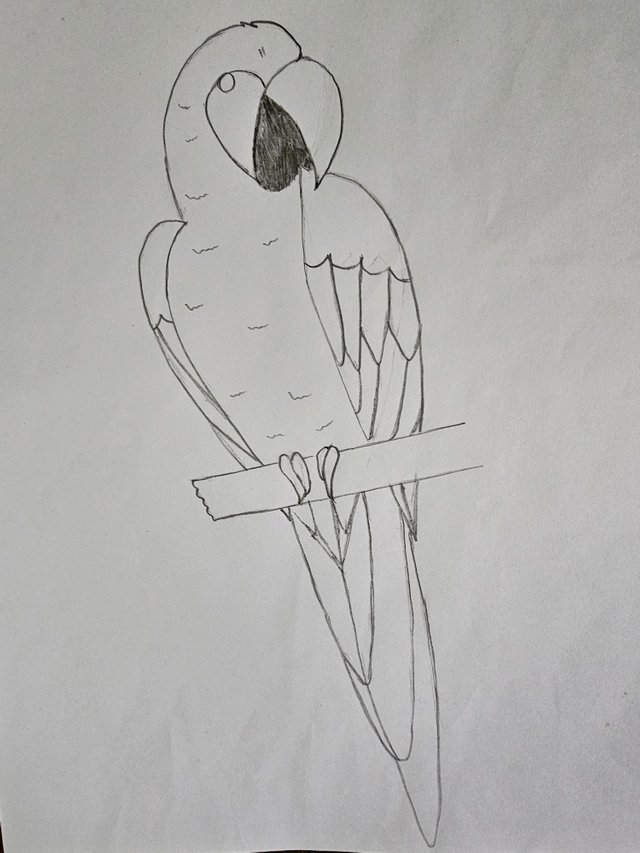
- After erasing the extra lines, my sketch of the parrot is now fully visible. In the next step, I will draw shadows on the parrot to make it look more realistic.
- In the second part, I will apply shading to the sketch of the parrot so that the drawing has a touch of reality. I will first shade the area of the parrot's head. Then I will give the black shade of light color on one side of the bird's mouth and dark color on the front part.
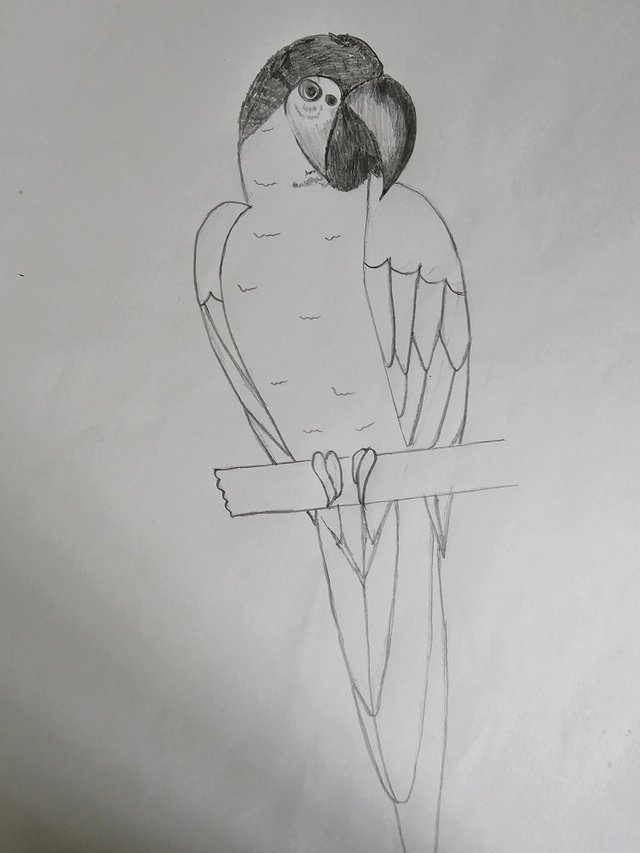
- Then I will make small strokes on the lower part of the parrot's head according to the class teacher's instructions. And I will draw in the same way on the lower tail part. Then I will create a black shadow on the lower part of the tree branch.
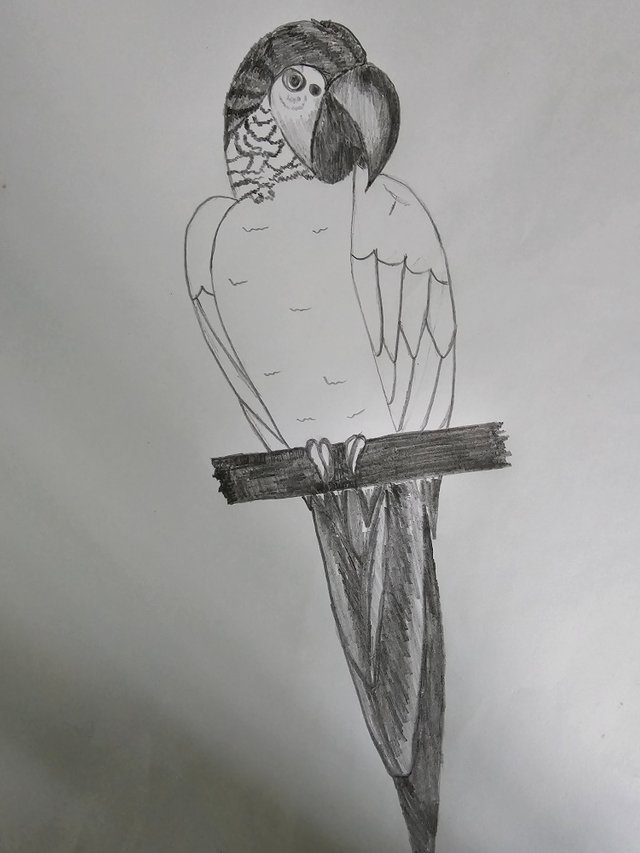
- Then I'll also shade the parrot feathers with lighter and darker tones somewhere to create nice shadows.
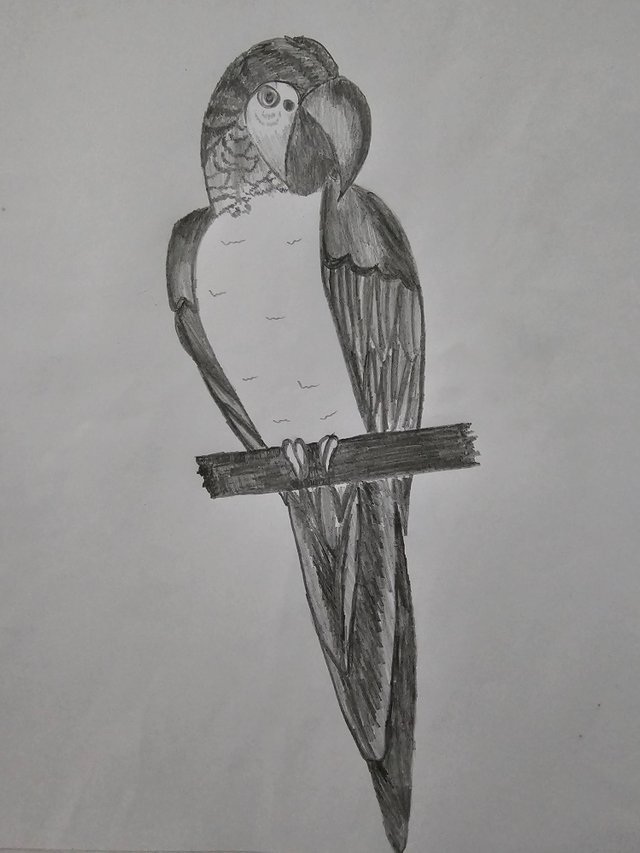
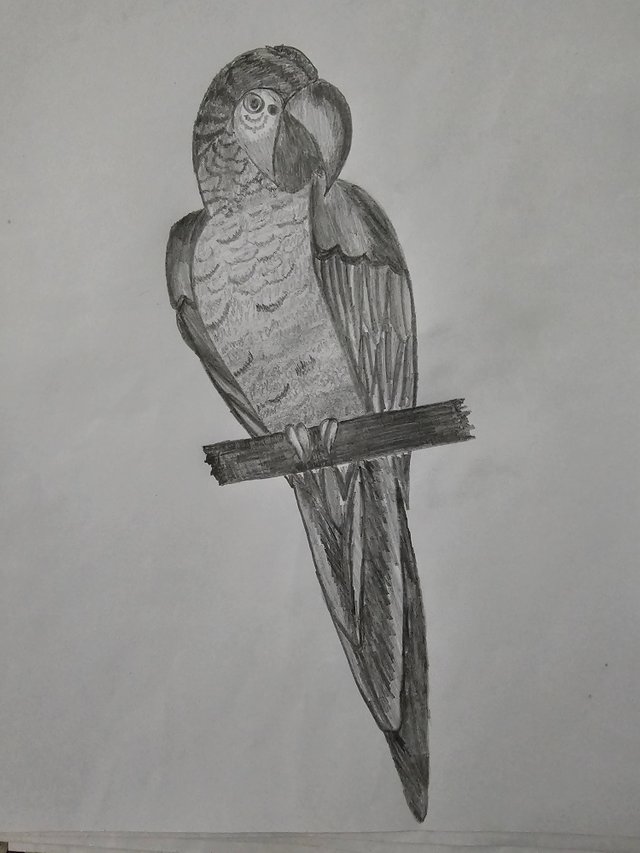
- Finally, on the center of the parrot's chest, I will first make light shading and then create shading in the form of small inclined strokes in between.

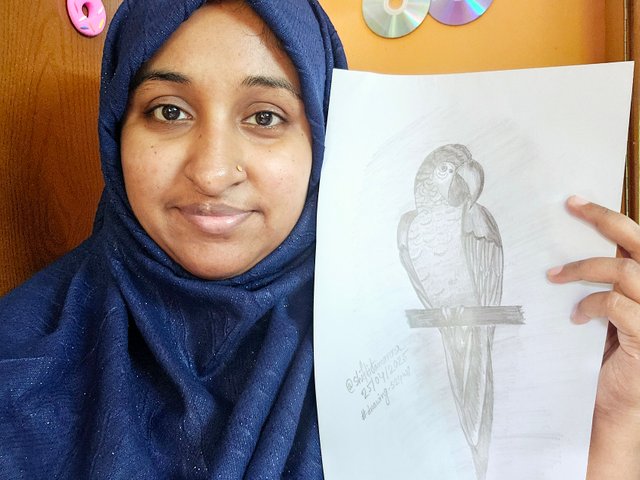
A selfie of myself with my drawing and name, date of creation:

Leave a recommendation or suggestion for other users who helped you with this challenge, or an open question for other participants or users who visit your post.
Yes, of course I admit that this challenge has taught me a lot. As I would like to say in the beginning the class was adequately explained with Sketch by which I got a clear idea how to sketch and shade any object. Also, our teacher explained very well what type of pencil to use.
Moreover, there is another thing I would like to commend. He provides very detailed animal drawing pictures and explanations in the class so that Steemit users like me who are interested in learning how to draw can easily master it.
So I would recommend or advise other users to follow our teacher's classes well and follow his instructions for drawing. I am hopeful that from these classes every user will be able to show their skills in creative drawing. Along with that, I would like to invite my friends @lunasilver, @jyoti-thelight & @lirvic to this challenge so that they can showcase their creativity through this challenge.
%20(500%20x%2050%20px)%20(1).gif)
I invite you to support @pennsif and @pennsif.witness to grow across the whole platform through robust communication at all levels and targeted high-yield developments with the resources available.

Click Here
%20(2).gif)
¡Hola! Que gusto que te hayas animado a participar en el Steemit Challenge: Explora tu creatividad con el dibujo artístico, en su semana 1.
Observaciones y recomendaciones:
Realizaste el boceto del loro muy bien, logrando las proporciones correctas y formas mostrando detalladamente el paso a paso.
En cuanto al sombreado hiciste un buen trabajo agregando detalles en el plumaje y distintos tonos de sombreado que te ofrecieron un buen resultado.
Libre de plagio ✅ | Libre de IA ✅
Downvoting a post can decrease pending rewards and make it less visible. Common reasons:
Submit
Greetings, friend @shiftitamanna
This is an example of how important it is to have a guide to achieve good drawings. Great work.
Downvoting a post can decrease pending rewards and make it less visible. Common reasons:
Submit
Thank you very much for your valuable compliment. I tried my best.
Downvoting a post can decrease pending rewards and make it less visible. Common reasons:
Submit
Hello dear you are a good artist in drawing you draw so perfectly.Giving all the details entails.Keep up courage
Downvoting a post can decrease pending rewards and make it less visible. Common reasons:
Submit
Wuaaoo, me gusta tanto tu dibujo como estás presiosa aves, me llamó mucho la atención del corazón para dibujar su cara y pico, buena suerte en el reto.
Downvoting a post can decrease pending rewards and make it less visible. Common reasons:
Submit
Wow amiga te quedo demasiado bello el dibujo, te felicito tienes mucho talento. Cada detalle, espectacular.
Éxitos en tu participación.
Downvoting a post can decrease pending rewards and make it less visible. Common reasons:
Submit
Buen trabajo amiga , el loro quedó muy bonito, buena técnica y un paso a paso bien explicado.
exitos en el concurso.
Downvoting a post can decrease pending rewards and make it less visible. Common reasons:
Submit