Assalamualaikum Everyone. I am @imranhassan
From #Bangladesh
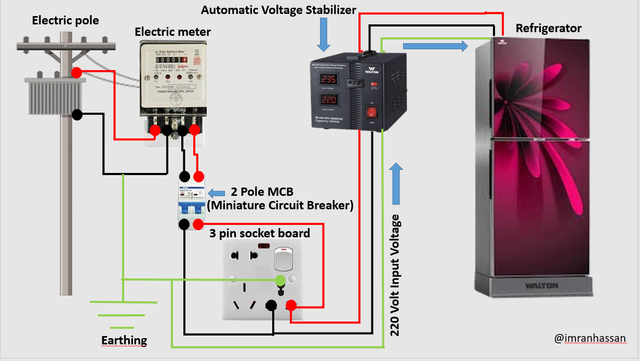
This tutorial is especially useful for beginners, students, and those who are learning about practical home wiring. Let's dive into the explanation of each part of this system.
| Electric Pole |
|---|
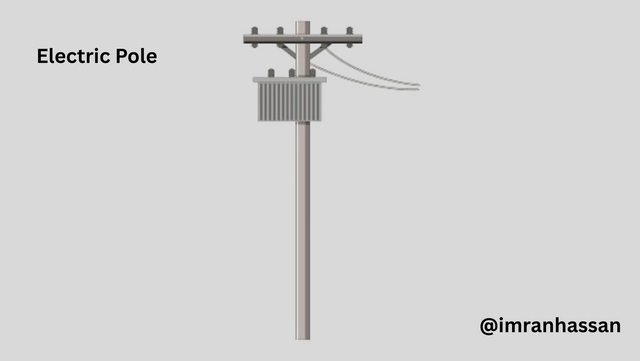
The source of electricity starts from the electric pole, from which two main wires are pulled:
Live wire (red) carries current.
Neutral wire (black)—completes the circuit.
These wires enter your house through the electric meter.
| Electric Meter |
|---|
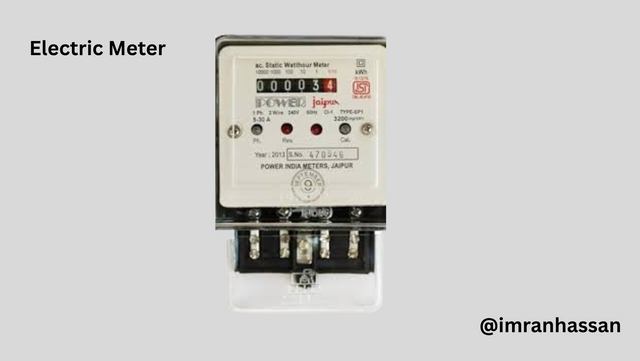
An electric meter is a measuring device installed by the electricity supplier to calculate the total electricity consumption of your household. It helps you monitor how much electricity you are using and is essential for billing.
| 2 Pole MCB (Miniature Circuit Breaker) |
|---|
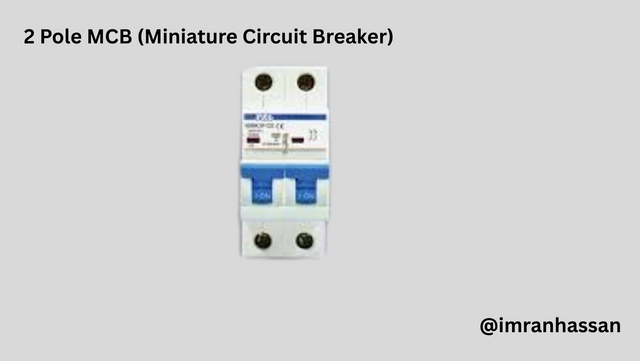
An MCB is a protective device that automatically disconnects the power supply in the following cases:
Short circuit
Overload
The use of a 2-pole MCB ensures that both the live and neutral lines are safely disconnected during a fault, providing better protection for both the equipment and the user.
| 3 Pin Socket Board |
|---|
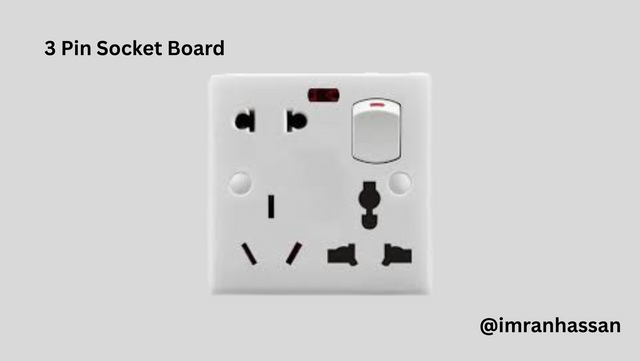
This is a regular socket outlet where your voltage stabiliser is plugged in. It consists of:
Live pin
Neutral pen
Earth pin
Earth connection is very important for safety, as it carries the leakage current directly to the ground and prevents electric shock.
| Earthing System |
|---|
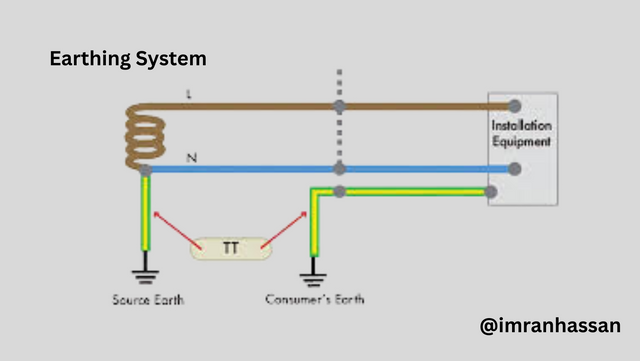
Proper grounding is essential for any electrical setup. In this illustration, the green wire is connected to an earthing rod buried in the ground. This ensures that in case of any fault or leakage current, the excess electricity is safely discharged to the ground.
| Automatic Voltage Stabilizer |
|---|
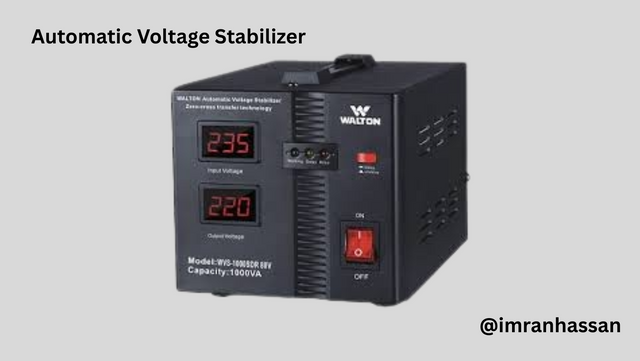
The voltage stabiliser protects your refrigerator from the following:
High voltage
Low voltage
Sudden power surges
It takes input from the socket and outputs a stable 220V supply, which is ideal for operating most household refrigerators.
| Refrigerator (Load) |
|---|
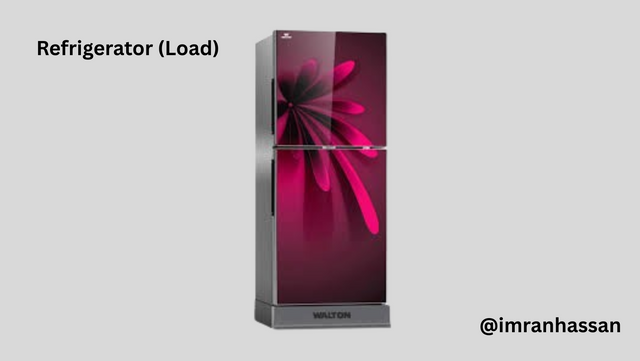
The refrigerator is the final appliance connected to this system. With the help of the stabiliser and MCB, it receives safe and regulated electricity, which improves its performance and lifespan.
| I am starting my tutorial post step by step . |
|---|
| ✅ Step 1: Installing Electric Poles and Meters |
|---|
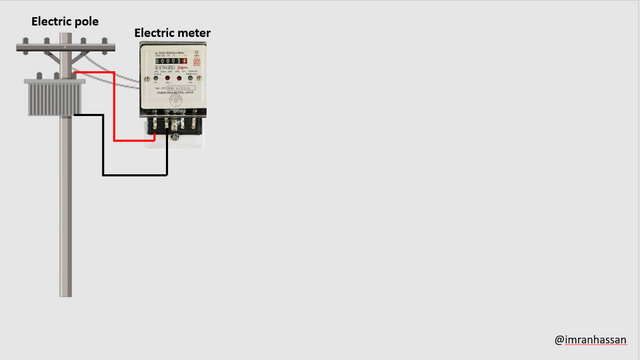
First of all, I opened a blank slide in Microsoft PowerPoint. There I installed an electric pole and an electric meter, which is used to indicate the beginning of the electrical connection.
Then I connected two wires from the transformer on the pole—
A red wire (live line)
A black wire (neutral line)
These two wires are directly connected to the electric meter. This step shows how the electric line enters our home or appliance from the main source (pole).
| ✅ Step 2: Circuit Breaker, Socket Board and Earthing Connection |
|---|
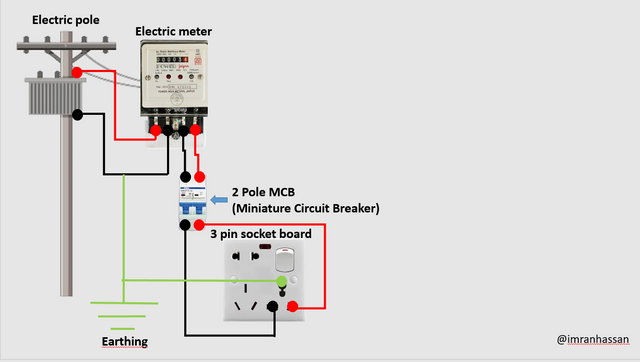
I connected a two-pole circuit breaker (MCB) with a red (live) and a black (neutral) wire from the electric meter. This is very important for electrical safety, as it automatically cuts off the power supply in case of a short circuit or overvoltage.
I connected a three-pin socket board with wires from the circuit breaker, through which the refrigerator or other appliances can be operated.
In this step, I made another important addition, which is earthing. I made an earthing connection using a green wire to the socket board so that in case of any leakage current or short circuit, the electricity can go directly to the ground and the appliances and the user are safe. You can see it clearly in the picture.
| ✅ Step 3: Stabilizer and Fridge Connection |
|---|
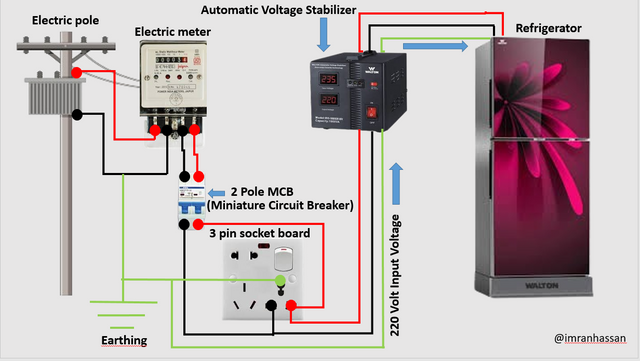
Then I connected the three wires (live, neutral, and earth) from the socket board to an automatic voltage stabiliser. This stabiliser helps the fridge to run properly and safely by controlling the electrical voltage.
Apart from this, an earthing (green wire) connection has also been ensured between the socket board and the stabiliser, which sends any kind of faulty current to the ground and keeps the appliance and the user safe.
On the right side of the stabiliser, you can see that I have installed a fridge. We have connected the output wires (live, neutral, and earth) from the stabiliser directly to the refrigerator.
When we connect the input connections from the socket board to the stabiliser and the output connection to the refrigerator, the AC system of the refrigerator maintains the characteristics of three wires:
Live (L)
Neutral (N)
Earth (E)
It is these correct connections that ensure a safe and effective refrigerator connection.
| ✅ Final Step: Presenting Proof of Work |
|---|
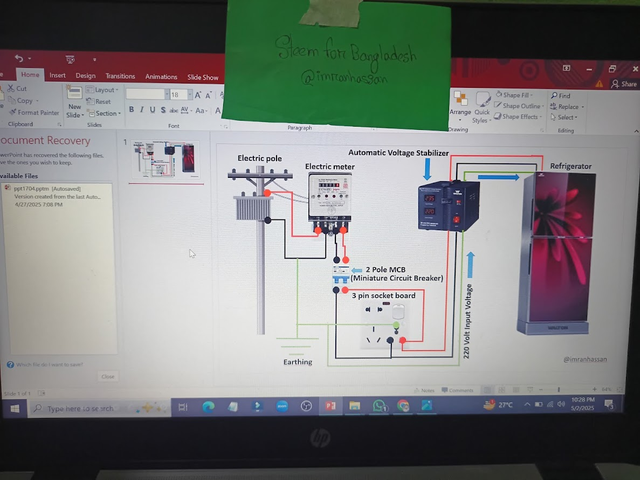
Finally, I took a picture to verify the authenticity of my work and to prove that I followed the community guidelines. The picture shows me working on this circuit project using Microsoft PowerPoint on my laptop.
In the picture, I took a picture in front of my laptop with my Steemit community name and my Steemit username clearly written. This shows that I created this project myself. This step is mainly added as proof of the transparency and hard work of my work.
| Estimated price list of electrical equipment from good quality companies (Bangladesh – 2025) |
|---|
| Sr. No. | Name of Material | Good Company | Quantity | Estimated Price (BDT) | Comment |
|---|---|---|---|---|---|
| 1 | Two-Pole Circuit Breaker (MCB) | Schneider / ABB | 1 | 450 Taka | 20-32 Ampere Size |
| 2 | Three-Pin Socket Board | Super Star / MK | 1 | 200 Taka | With Switch, Heavy Duty |
| 3 | Earthing Cable (Green Wire) | BRB / Paradise | 3 Meters | 50 Taka | Per Meter ~16 Taka |
| 4 | Red and Black Wire (7/0.36 Cable) | BRB / RR Kabel | 3 Meters | 75 Taka | Per Meter ~25 Taka |
| 5 | Automatic Voltage Stabilizer | Walton / V-Guard | 1 | 1,500 Taka | Suitable for Refrigerator |
| 6 | Refrigerator (Mid-Range) | Walton / Singer | 1 | 25,000 Taka | 8-10 Cubic Feet (170–200L) |
| Total estimated cost (based on actual materials): 27,275 (approx.) |
|---|
| ✅ Conclusion |
|---|
A refrigerator is one of the most essential appliances in any home, and it is very important to protect it from power fluctuations. The wiring diagram that I have shared here shows how to set up a refrigerator with proper earthing, MCB protection, and a voltage stabiliser. This not only keeps your appliance safe but also ensures the safety of your home and family.
If you are learning basic electrical circuits or doing practical experiments at home, this is a great project to understand how everything works together in real life.
.gif)
https://x.com/ImranHosen98536/status/1918356119434780839
Downvoting a post can decrease pending rewards and make it less visible. Common reasons:
Submit
Hi, Greetings, Good to see you Here:)
Downvoting a post can decrease pending rewards and make it less visible. Common reasons:
Submit