Hello 👋 to steemit members |
|---|
I hope you are all well and happy. May Allah Almighty keep you all happy in your lives. Today I am going to make a very nice stitch city with you guys and I will tell you how I made it. It is a very easy method.This pruning is also a very laborious task. Only a person who knows how to do it can make it cleanly and neatly. If it is not made cleanly, it will not be beautiful. If it is made beautifully and neatly, it will take four months. We can also sell such flowers by making them. This can also be useful for us as a business. Now let me tell you how I made this.
Final look |
|---|
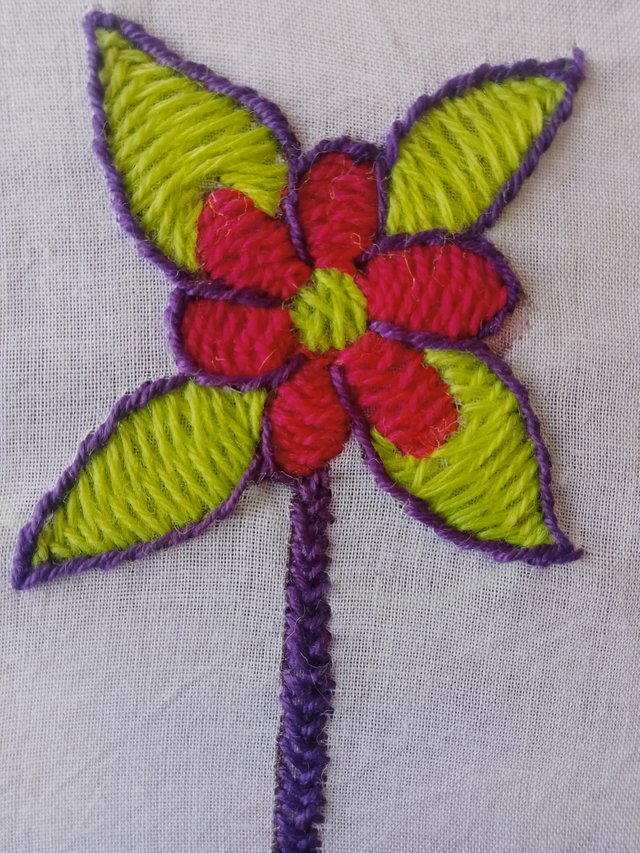
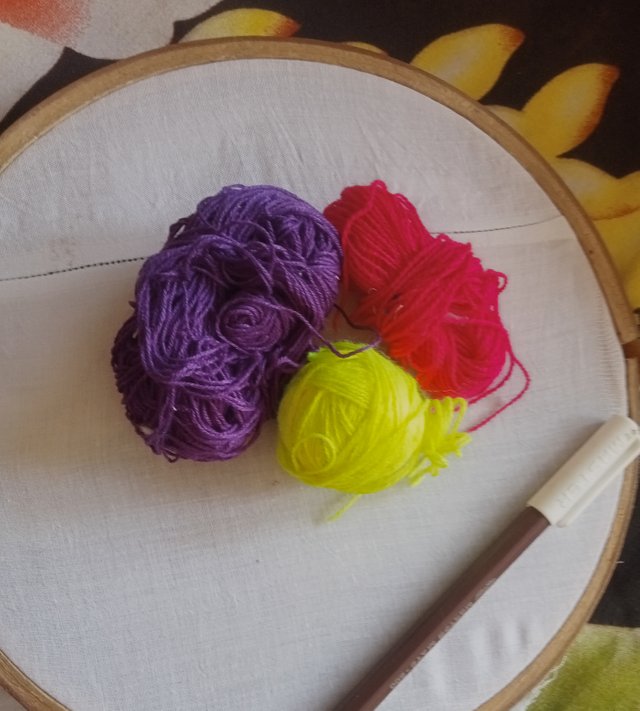
The things we will need to make this stitch are: Take a medium-sized frame, a marker with which to make the flower first, a needle, and the thread in the color that you have. The flower will be made in that color. Take the same number of threads in the color in which you make the flower. These threads are not very expensive and can be found for a small amount of money. If threads in different colors are used, the beauty is even greater.
Step 01
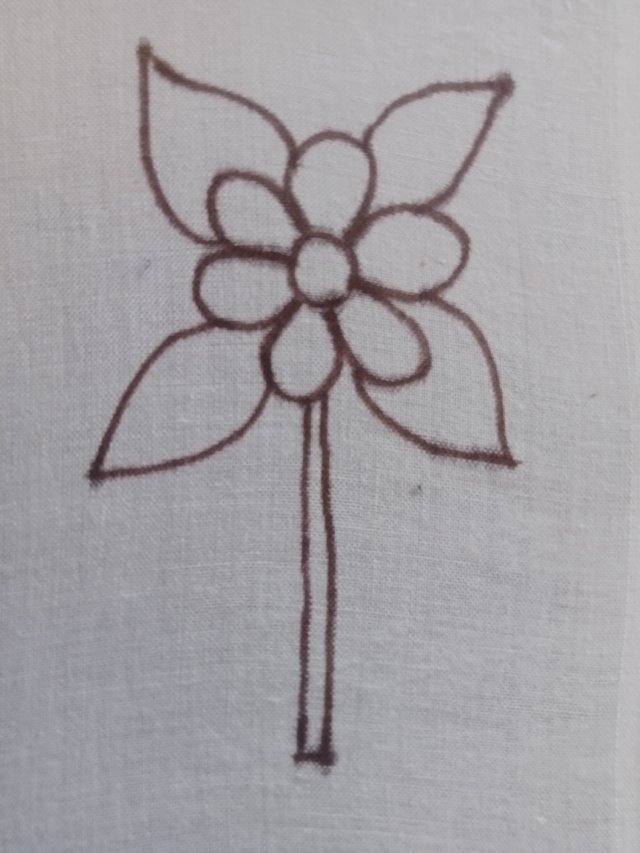
I have taken a white cloth and I have put a frame on it. Now I have made a flower on it with the help of a marker, the kind of flower that can be made as a tea-level. By the way, if you go to the market, there are such flowers made there, they will give them to you. But whenever I do this kind of cutting, I make the flower myself with my own hands because whatever kind of beauty I want to bring, we can make such a flower. Now I have made the flower with the help of a pencil and made its leaves on top and made a stem at the bottom. I will weave it with threads of different colors.
Step 02
Step 03
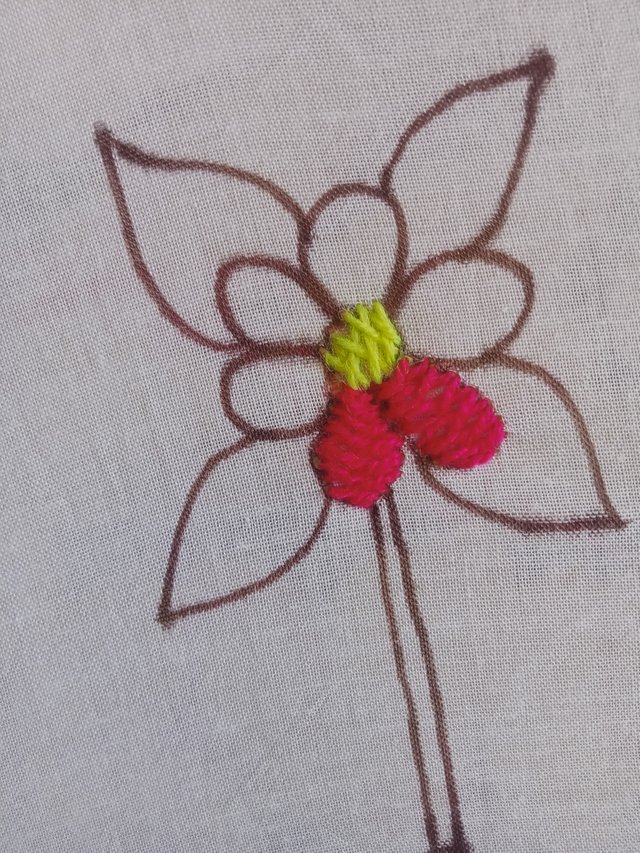
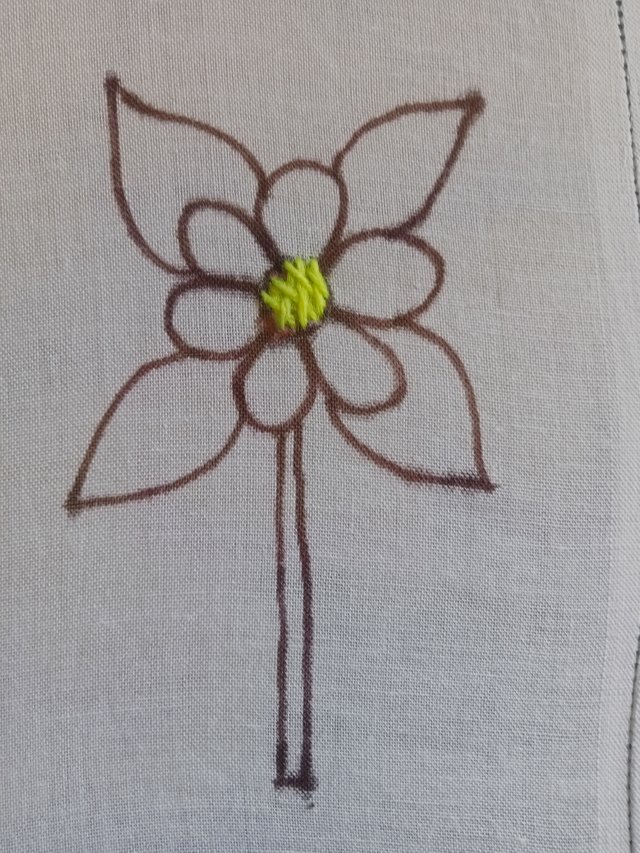
Now I have put the purple thread that I had taken inside the needle, which is about eight to ten inches long, and I have made it larger on one side and have attached it from there. Now I will make the structure in the circle that I made in the middle. I will pass the needle from below it and make small stitches along it. From one side, I will lift a little cloth with the help of the needle and as soon as it is made with the help of the pencil, I will lift it little by little. This is to be made in the same way as the pencil structure is made. It looks difficult to see but it is very easy to make.
Now I have taken this thread from the needle and I will fill the others in the same way. Now I have taken the pink color thread, I have taken the same amount as I took the pearl color thread. Now I will start from the bottom of the circle that I have made and I will attach it to the leg along the way to the top. I will keep lifting the fabric little by little and this will be our fish stitch. As soon as one leaf is completed, I will pass the thread from the bottom and start the second one in the same way from the top and I will continue to make it to the bottom as if it was made with a pencil. It is being made very neatly. Now I will share the video of it with you so that if you do not understand, then you can understand it in this way and if you want to make it, you can definitely make it too.
Step 04
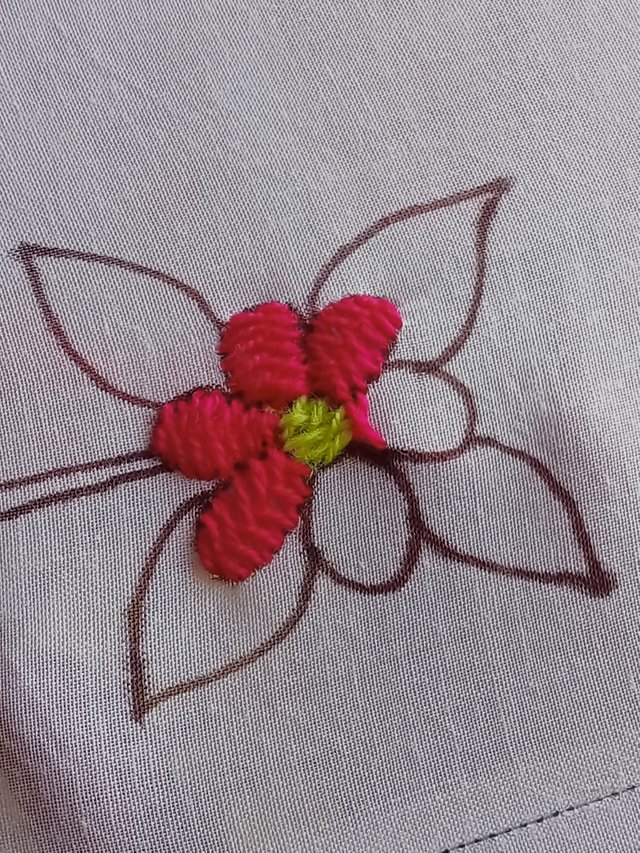
Step 05
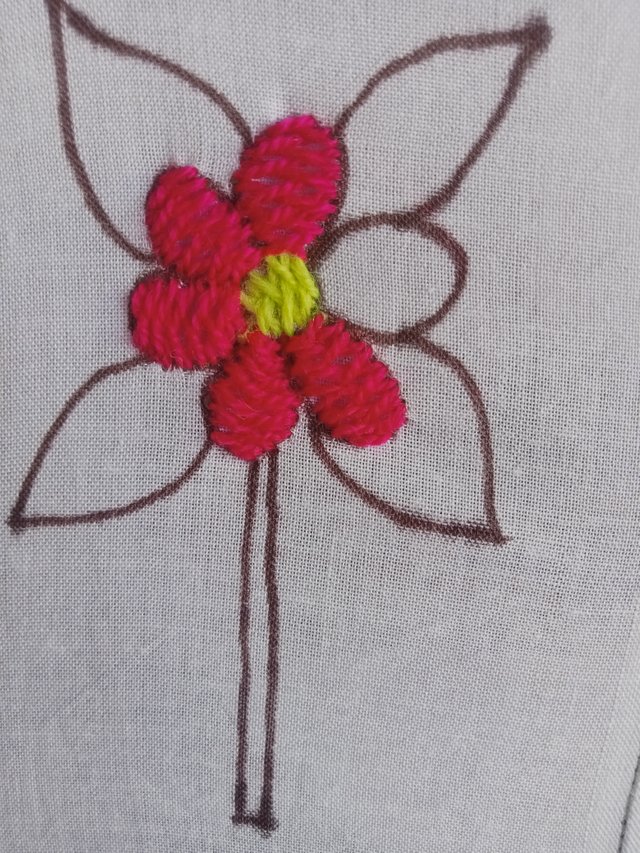
Now I have completed two leaves in the same way, now I will make the third one in the same way. Just like these round leaves, we have to continue stitching them together with the help of a needle. Don't leave too much distance so that they don't look bad. And if there is any left, then complete the filling in that. Now I have shared the video with you guys. If you watch it, you will definitely understand how I am making them in the same way. We will continue making them in a round shape. Its shape will become very beautiful. When all these round leaves are completed, remove the pink sorrel correctly and add the yellow sorrel that we had put earlier. Now we will also add the same from above. And I have made four big leaves on top. Now I am starting to make it.
Step 06
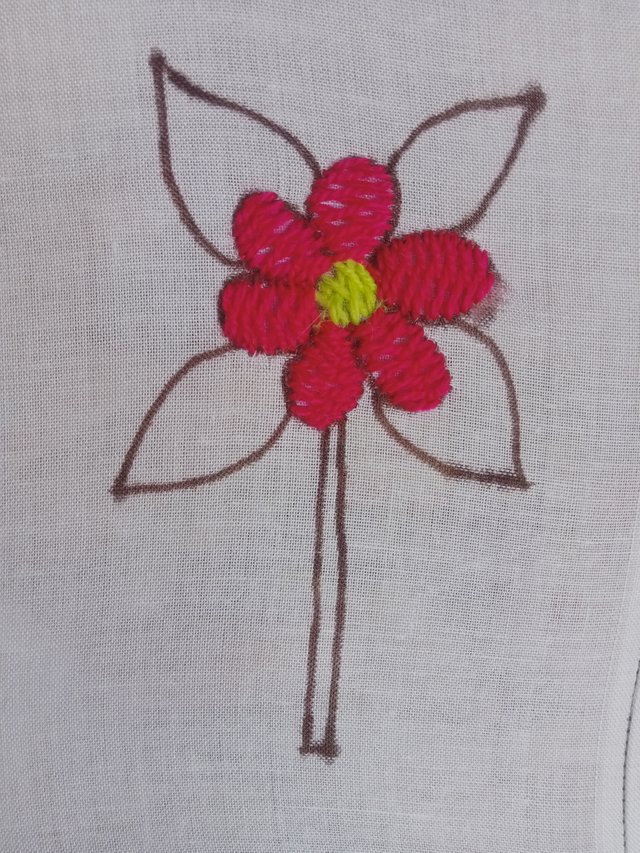
Now I have made the leaves on the top, I have also made a sheet, in which I am filling with some thread. This too has to start from the bottom and its tip has to be pointed at the end so that it becomes beautiful.
Step 07
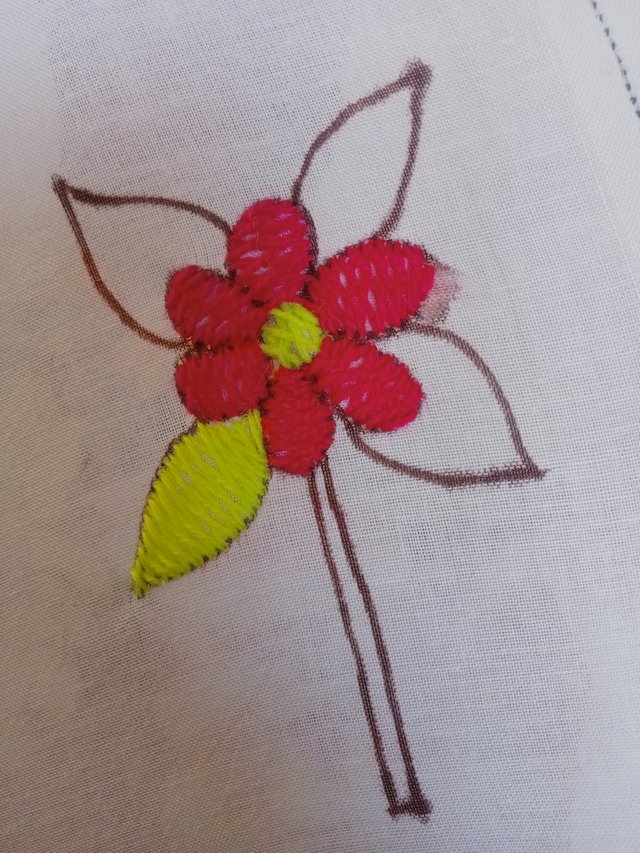
Therefore, I have to take the needle from the bottom of the end and pick up a little cloth and stitch it from one side. Then pick up the cloth from the other side and stitch it from the other side in the same way. If we keep stitching like this, this will become our fish stitch. In this way, one of our leaves has been completed.
https://youtube.com/shorts/Vizo6oh1pRg?si=HZ7jCV8jK0CZvTdj
I have also made this leaf in the video that I have shared with you guys because it was also round and it is in the shape of a leaf, so that you guys can understand it well in the video. Similarly, do not start with an open tip, start making the leaf from the bottom. You will attach the stem from the bottom and make it together in the same shape that you made with the help of a pencil and remove the tip from the end. Similarly, I have completed the four leaves that I made above in the same way.
Step 08
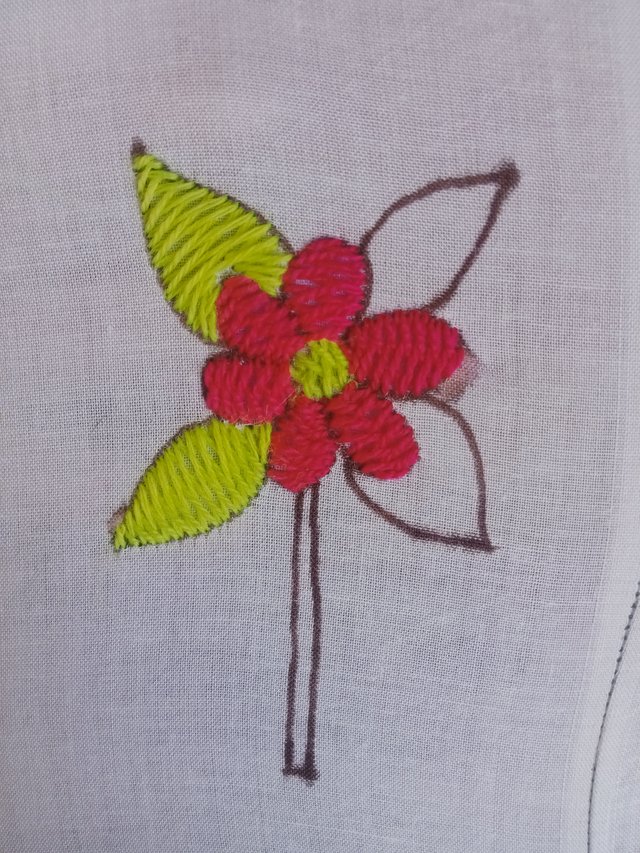
Also, keep in mind that there should not be much distance between the leaves that are being made. The thread should be woven exactly together. If there is a distance, the flower will not look beautiful and the fabric will be visible from below, so the threads should be woven together.
Step 09
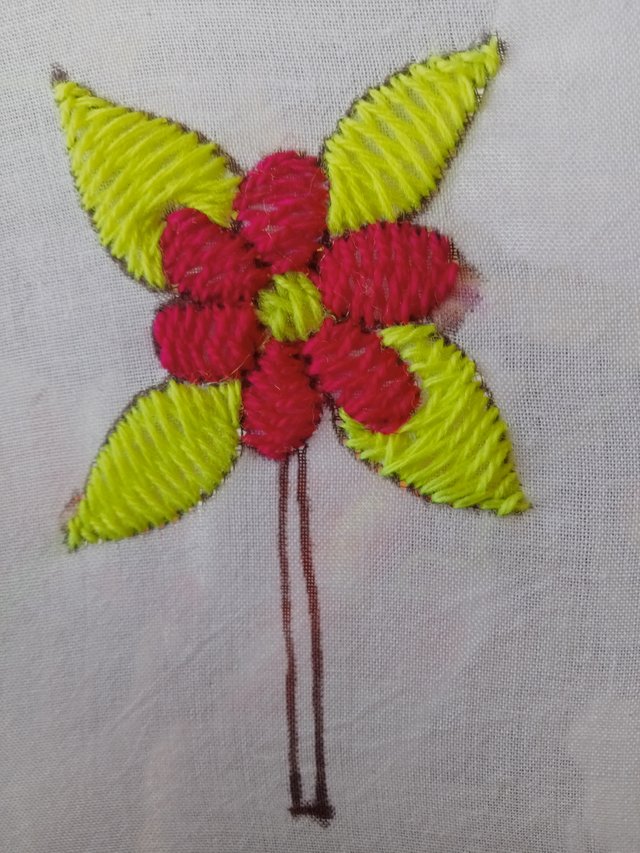
Now the round and leaf-shaped leaves are completely complete. Now, I will make the branch at the bottom with purple thread. The more different colors of thread I use, the more beautiful the flowers will be.
Step 10
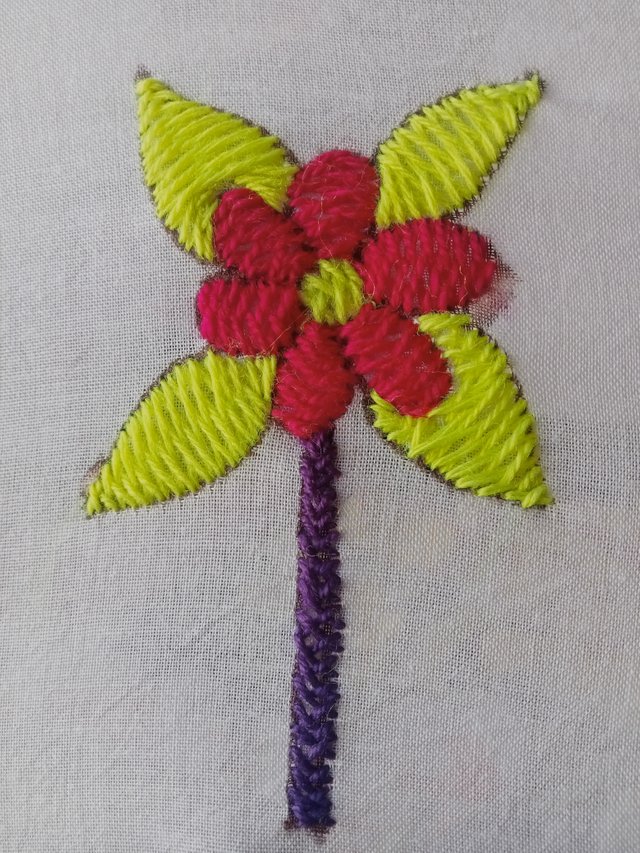
Step 11
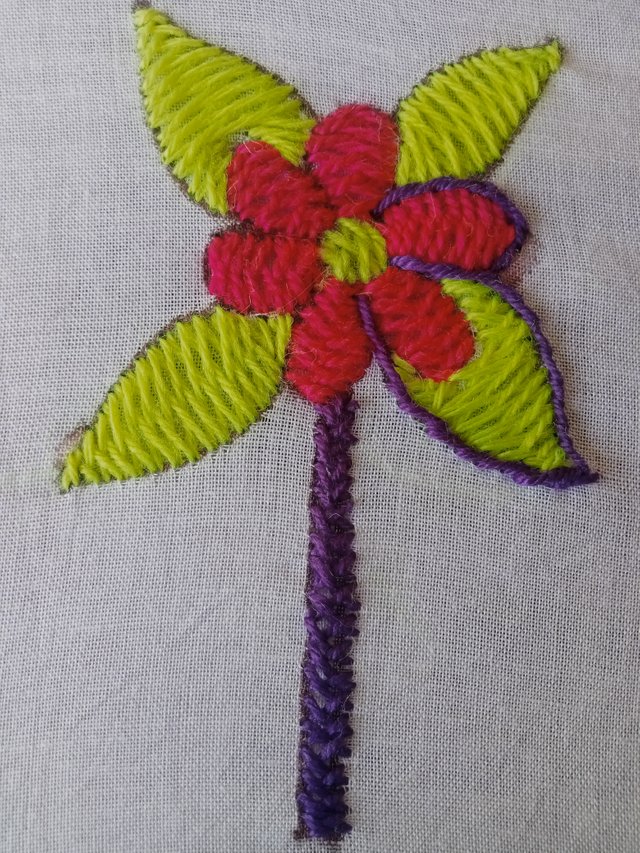
I am starting from the bottom and will make it till the end. I have to put the thread in the needle and pass the needle from the bottom. As soon as the leaf is made with the help of a pencil, I will continue to make it. It will become very beautiful when its branch is also completed.
Step 12
Step 13

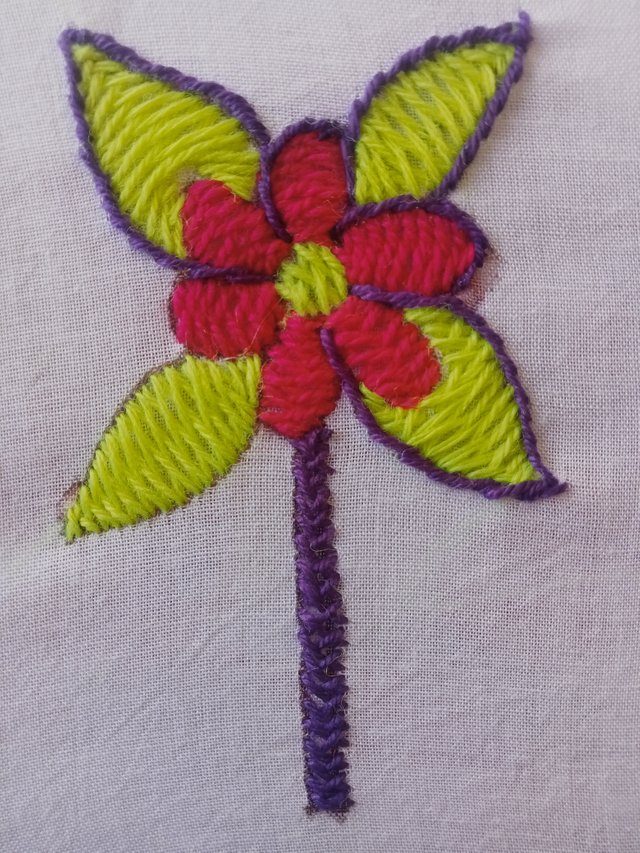
Now I will fill this flower that I made with purple thread from the top so that it looks beautiful. First I filled it from the side of the leaf and then I will attach the small leaves from the top along with the stem. Just like I made the leaves, I will continue filling it on top of the whole flower in the same way. It looks very beautiful. We can make dupattas, pillows, bed sheets and if we want to sell these flowers, we can do that too. I hope you guys liked my phone very much. This is a very easy method. If you guys want to make them too, you can make them.
Cc:
@suboohi,@ahsansharif,@josepha,@dove11
Best regards: @afshan12
Curated by: @ahsansharif
Downvoting a post can decrease pending rewards and make it less visible. Common reasons:
Submit
Thank you Soo much dear bro @ahsansharif for voting my post.
Downvoting a post can decrease pending rewards and make it less visible. Common reasons:
Submit
Wow I love how you provides step-by-step instructions, accompanied by images and a video, to guide readers through the process and the tutorial covers the materials needed, the design creation, and the embroidery techniques used to bring the flower to life I must say that your enthusiasm and encouragement make the tutorial engaging and accessible to readers who may be interested in trying their hand at embroidery ans also the post also highlights the potential for creating and selling handmade items, such as dupattas, pillows, and bed sheets, which could be an added incentive for readers...wish you all the best.
Downvoting a post can decrease pending rewards and make it less visible. Common reasons:
Submit
Thank you so much for reading my post and if you try to make this flower with the same thread, I hope you will be able to make a very nice flower like this.
Downvoting a post can decrease pending rewards and make it less visible. Common reasons:
Submit
You have portrayed a local art of our region in a beautiful way. Needle embroidery is a dying art in today's industrialized world. Fine example of craftsmanship and handmade products which should get the appropriate appreciation all around the world. Kudos to you
Downvoting a post can decrease pending rewards and make it less visible. Common reasons:
Submit